DK-701993 Instructions

Parts Included
1.Raise the vehicle and prepare for installation
a. Safely raise and support the vehicle.
b. Remove the front wheels.

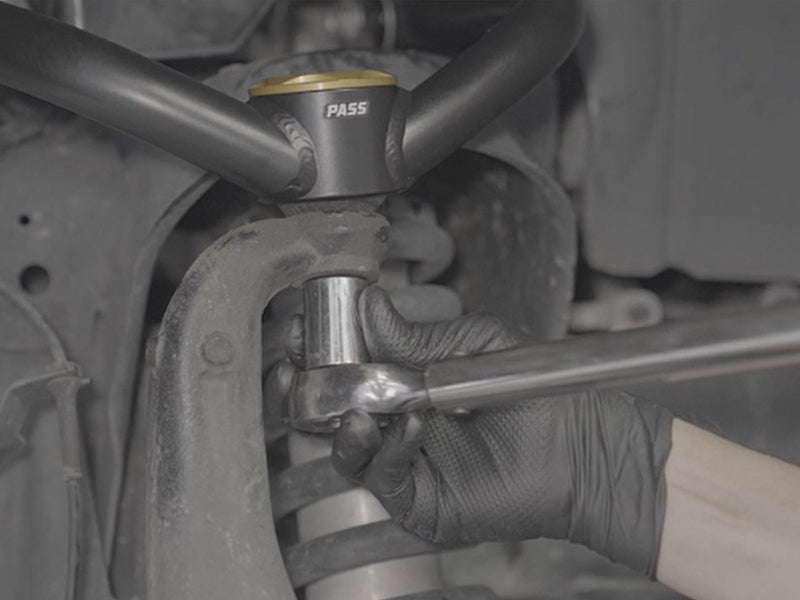
2. Remove the upper control arm
a. Remove upper control arm ball joint hardware.
b. Separate the ball joint from the knuckle using a ball joint separator tool.
c. Remove the two rear pivot bolts and nuts.
d. Remove the OEM upper control arm.

3. Additional preparation for installation
a. Grind down the two small extrusions inside the mounting pockets. This ensures a flat contact surface for the upper control arm bushing end caps.
Note: Refer to the image in this step for a visual reference
b. Apply a rust-resistant primer or paint to the surface area after grinding. Allow it to dry completely.

4. Install the Dirt King upper control arm
a. Install the upper control arm using the factory hardware.
b. Torque the rear pivoting hardware to 136 ft lbs.
c. Torque the ball joint nut to 85 ft lbs.
5. Review and repeat on the other side
a. Inspect all components to ensure they are correctly installed. Ensure the control arm does not contact the shock reservoir hose.

6. Reinstall wheels and align the vehicle
a. Reinstall wheels and torque lug nuts to the manufacturer’s specifications.
b. Have the vehicle aligned at a certified shop. If equipped with Advanced Driver Assistance Systems (ADAS), ensure recalibration is performed.

For warnings and disclaimers, visit Dirt King Disclaimer.