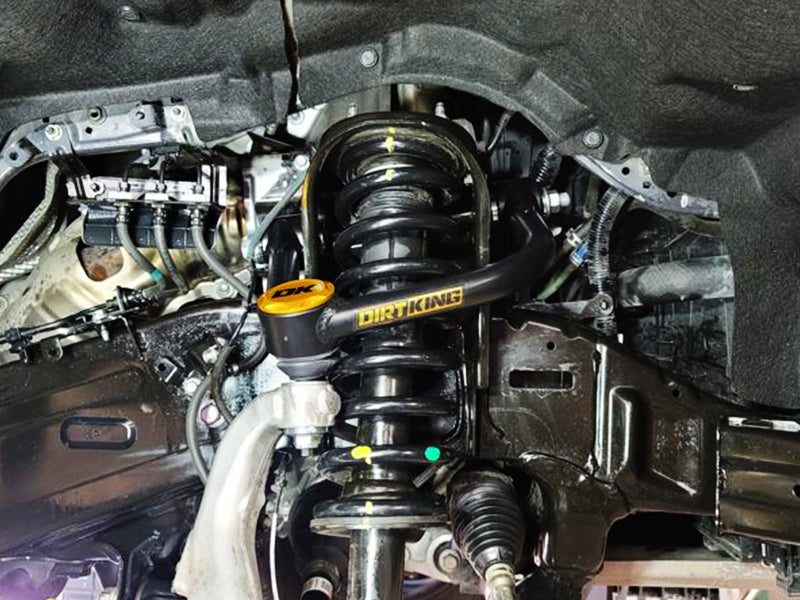
DK-817945 Instructions

Parts Included
1. Lift vehicle and prepare for installation
a. Disconnect the negative battery terminal.
b. Lift and safely secure the front of the vehicle using safety stands.
c. Remove the front wheels.

2. Prepare for installation
a. Starting on the driver side, remove the upper control arm according to your manufacturer’s instructions.

3. Prep chassis for welding
a. Install the driver front and rear plates onto the chassis. Mark the contact areas between the plates and the chassis.
b. Remove the upper control arm and plates. Grind away any paint on the chassis to expose bare metal. Use caution around surrounding components while sanding.

4. Prep for welding
a. Cover any exposed areas that may be damaged by weld heat or spatter.
b. Keep a fire extinguisher nearby when welding.
c. Insert the provided washers between the upper control arm and the double shear plates as shown in the image. This will allow a small gap to help maintain the spread after welding.

5. Welding plates
a. Weld the plates to the chassis, taking care to protect surrounding areas. Weld all contact points to the frame. Refer to the image for guidance.
b. Allow the chassis to cool, then remove the upper control arms.
c. Paint all exposed metal and allow it to cure.
d. Reinstall the upper control arms according to your manufacturer’s instructions.
e. Inspect your work and repeat the steps on the passenger side. Be sure to cover any exposed areas that could be damaged by weld heat or spatter.

6. Reassemble vehicle
a. Reinstall the wheels and torque the lug nuts to your wheel manufacturer’s specifications.

For warnings and disclaimers, visit Dirt King Disclaimer.
